Chocolate cupcake with peanut butter filling
May 28, 2012Specially baked these for my friend. Happy birthday, Clarence!! ^^ i love cupcakes/muffins that have fillings inside. It's like a little surprise. However, I was a little hesitant about baking these filling cupcakes because I find it challenging to fill the cupcakes. I looked up the Internet and they are practically so many ways to fill the cupcakes. While I was browsing recipes by other bloggers, I stumbled upon Foodismylife's recipe n decided to give it a go. So... this is my 1st cupcake with filling!! Oh well, it is not that hard to fill these fillings after all. I shall bake more cupcakes with fillings from now on!! One of the best thing about this cupcake is that it uses my favourite "everyday's chocolate cake" batter. Nothing can go wrong with this cake as the "base". This is my third recipe with "everyday chocolate cake". Check out my 1st n 2nd recipe w everyday chocolate cake.
For the Cake:
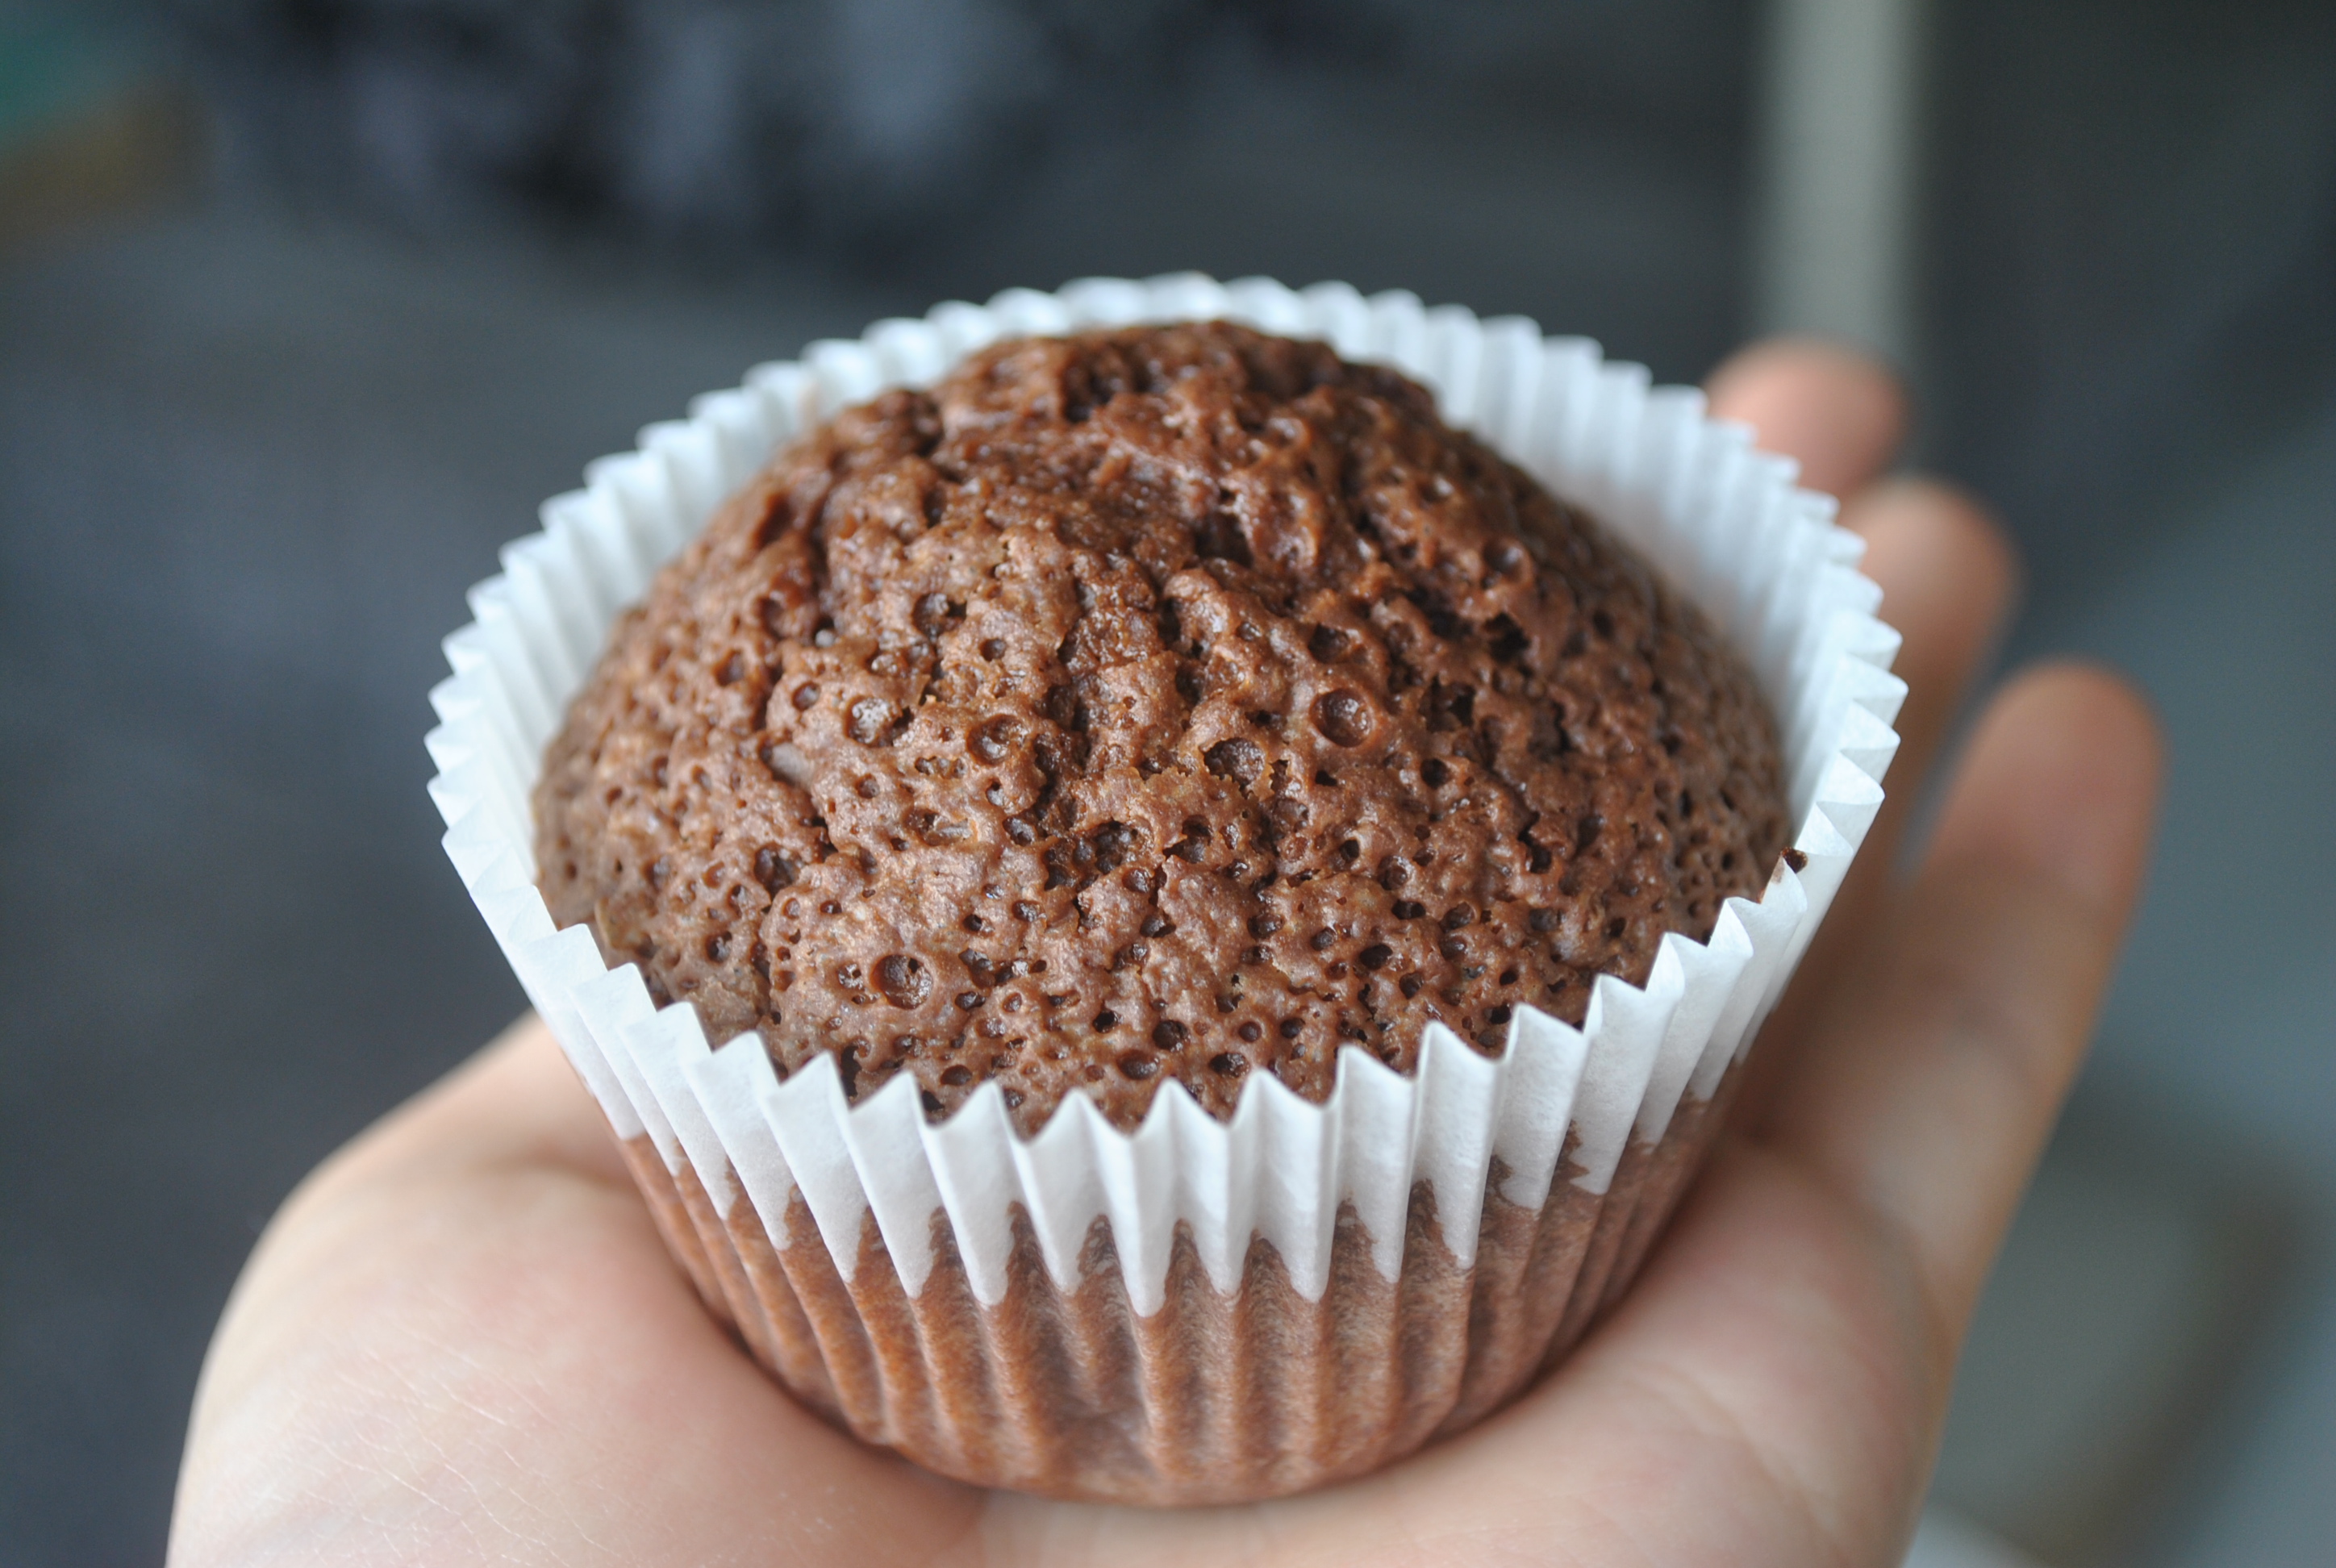
Look at how soft and moist the cake is. It's chocolatey and rich!!
Ingredients: ( Makes 6 medium cupcakes)
45 grams all purpose flour
10 grams good quality Dutch-processed cocoa powder
1/2 teaspoon baking powder ( As this is a really low cake, I added slightly more baking powder )
Pinch of salt
55 grams good quality dark chocolate, roughly chopped
100 grams unsalted butter, can be cold or at room temperature
90 grams caster sugar
2 eggs
Preheat the oven to 175 degrees Celsius.
Measure the flour, cocoa powder, baking powder and salt in a small bowl. Use a wire whisk and whisk the dry ingredients together until they are all well-mixed and evenly distributed.
Measure the dark chocolate and unsalted butter in a large heatproof bowl and melt them over a pot of simmering water, stirring occasionally. Alternatively, you can microwave them under medium high heat at 15-25s interval. Stirring during each interval.
Remove the heatproof bowl from the pot/microwave. Add in the caster sugar and whisk gently – not all of the sugar will dissolve. Mixture'll be a little grainy Let the mixture stand for 10 minutes to cool down slightly (the eggs will scramble if added to a hot mixture).
Crack in one egg into the chocolate mixture. Whisk the mixture (yes, same wire whisk!) for 30 seconds until it is fully incorporated. Whisk in the second egg, and then whisk in the vanilla extract.
Sift a third of flour mixture into the chocolate batter and folding gently using a large metal spoon or rubber spatula. until all the dry ingredients have been incorporated – Note [2].
Transfer the cake batter into the lined muffin tin. Bake for 18-20 minutes until the top bounces back when touched lightly and a skewer inserted into the centre of the cake comes out clean.
Peanut Butter Filling
Ingredients:
20 grams cream cheese 45 grams creamy peanut butter
45 grams icing sugar, sifted
1/8 tablespoon vanilla extract
1/2 to 1 tablespoon milk Handful of chopped peanuts (optional)
Place the cream cheese, peanut butter, icing sugar and vanilla in a medium bowl. Beat the mixture using an electric mixer until the sugar has dissolved and the frosting is light and fluffy. Add in a little bit of milk to thin the consistency (makes it easier to scoop). Stir in the chopped peanuts if using
Chocolate Ganache
Ingredients:
90 grams good quality dark chocolate
finely chopped 85 grams / ml heavy cream (3/8 cup)
1/4 teaspoon vanilla
1/4 tablespoon salted butter
90 grams icing sugar, sifted
Steps:
Place the heavy cream in a microwave-safe bowl (glass or ceramic). Microwave the cream on medium for 30 seconds until the cream is hot. Add in the chopped chocolate and stir – the chocolate will start to melt. Place the bowl back into the microwave and microwave for 10 seconds. Stir the mixture and if there’s any remaining un-melted chocolate, repeat the process (do not microwave for too long at one go unless you want to burn your ganache). Once all the chocolate has melted, add in the vanilla and butter and let the mixture cool to room temperature.
Refrigerate the ganache for 5 to 10 minutes. Using a hand-held electric mixer, beat the chocolate ganache on medium speed, adding in the sifted icing sugar in 3 batches. Continue to beat, turning the speed up to high until the ganache becomes light in colour and creamy.
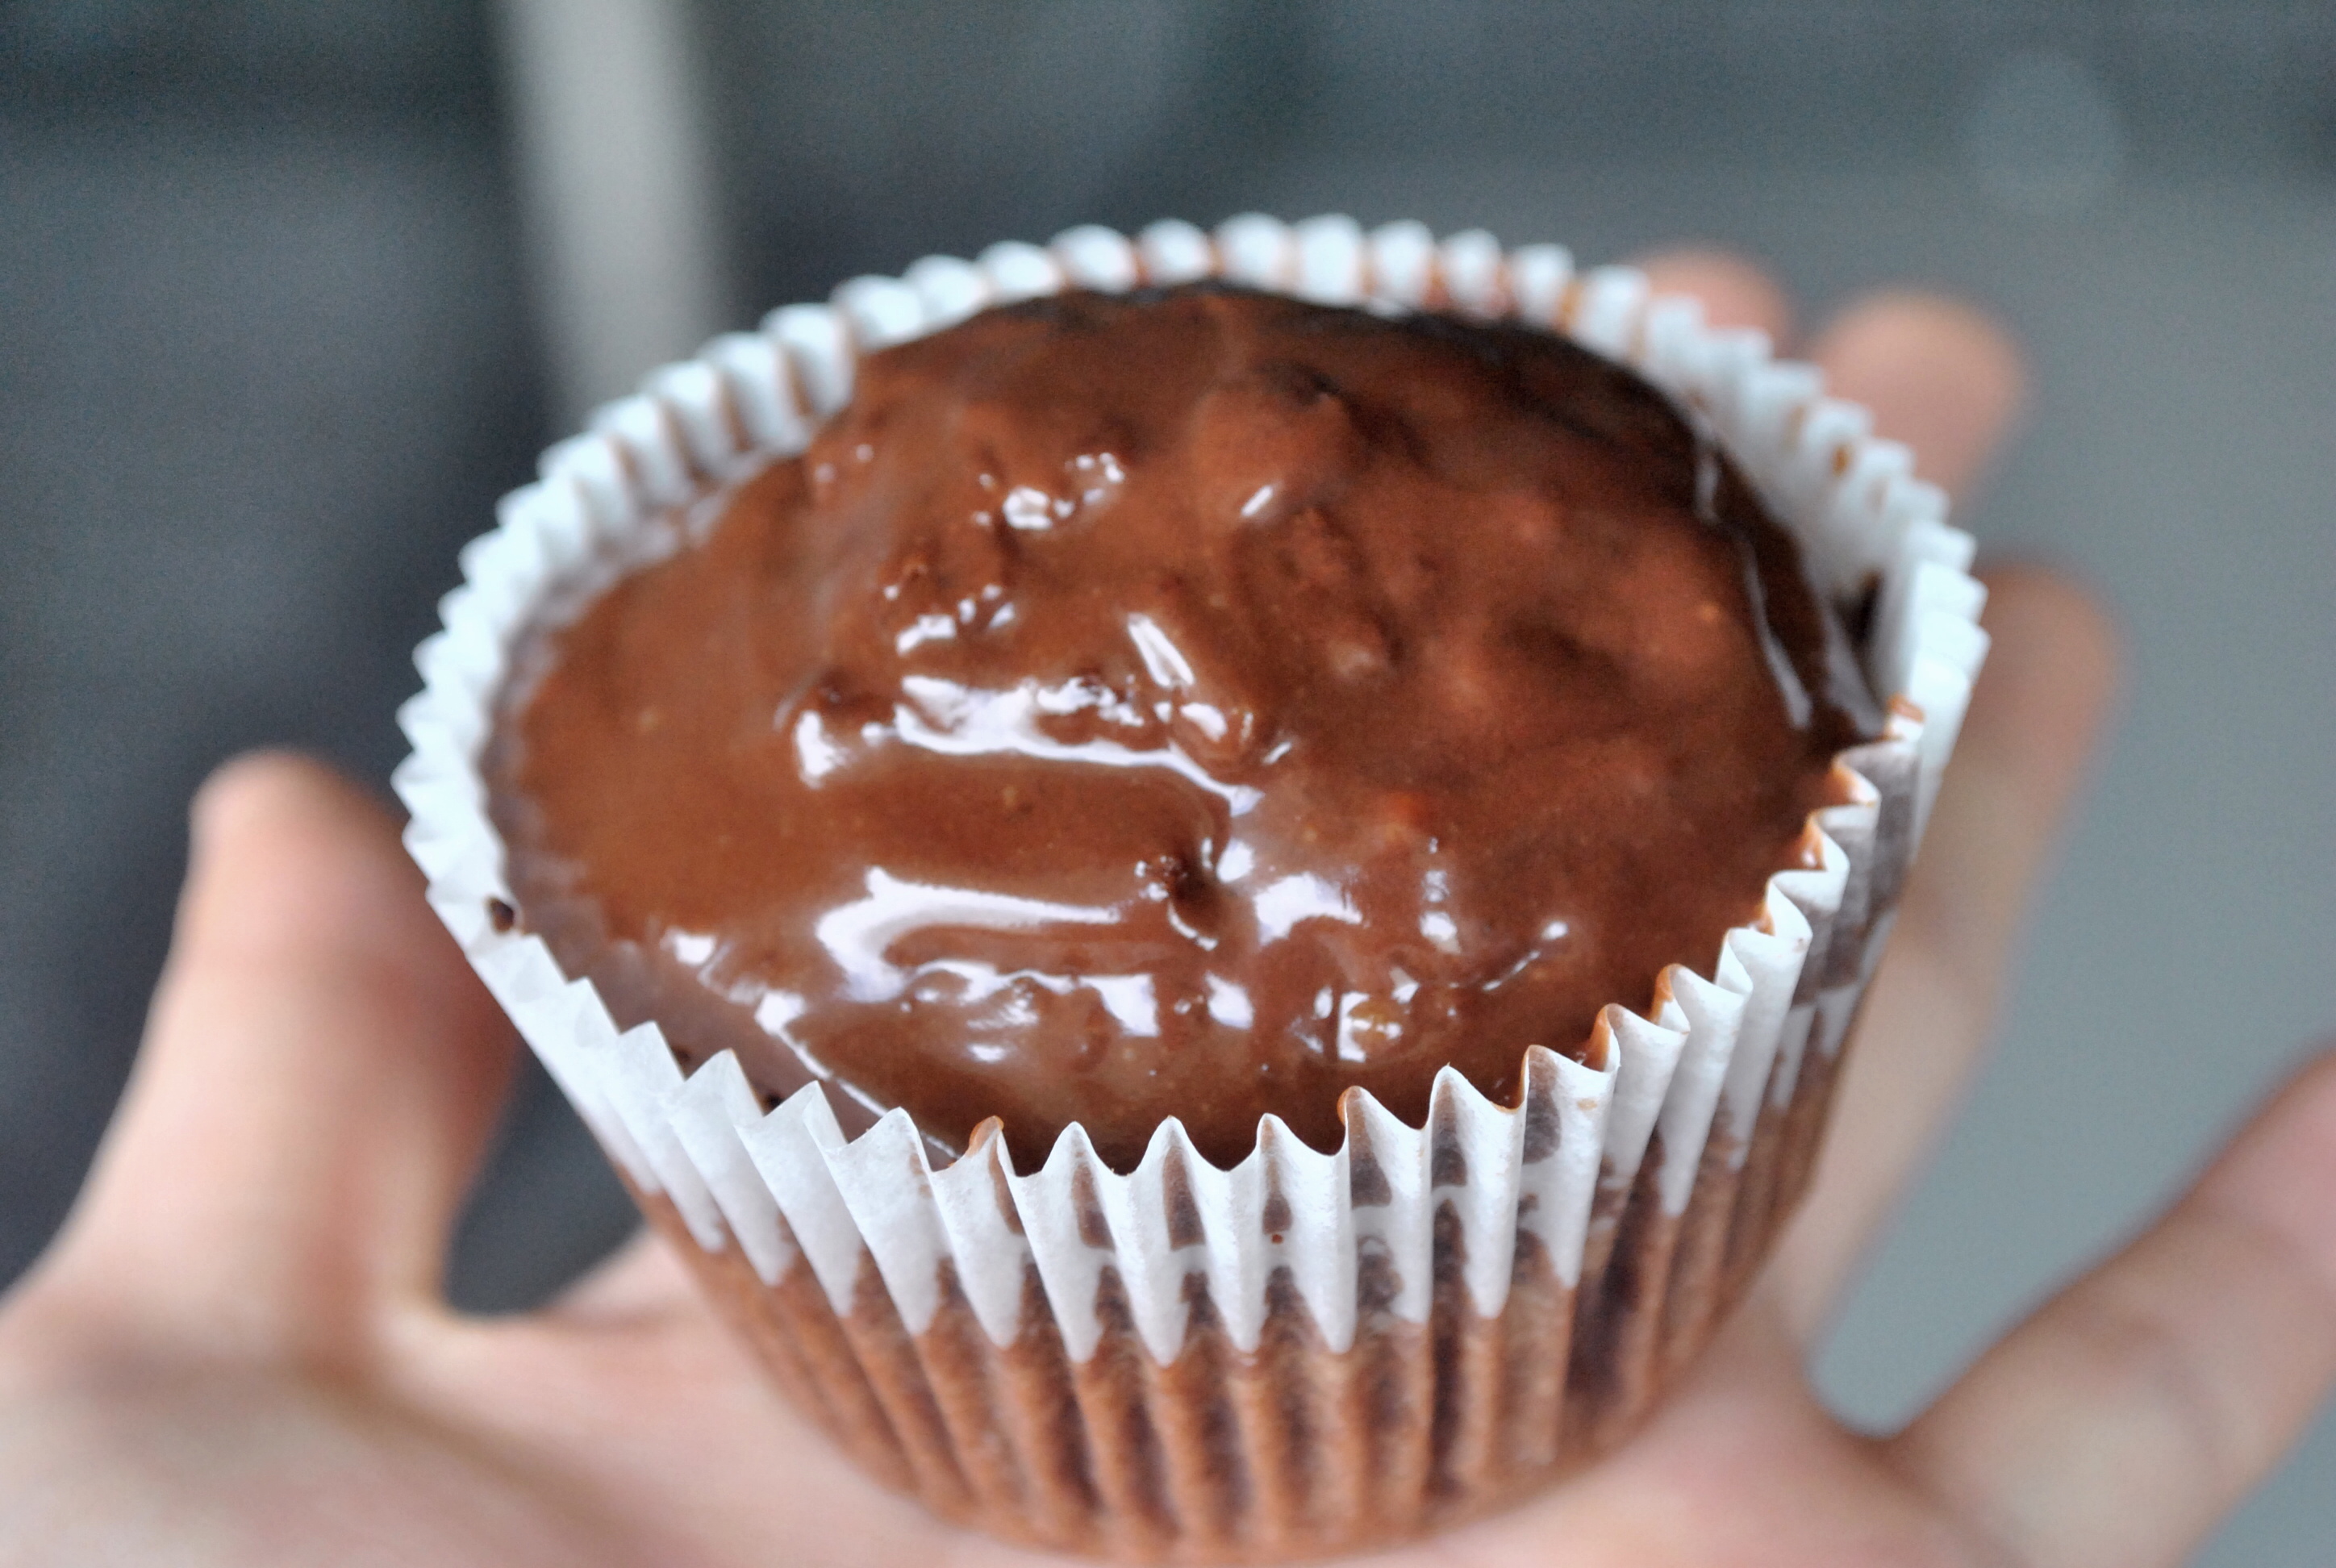
Note: My chocolate Ganache is too liquidfied. I did not beat the ganache until it becomes light in color and creamy. The more i beat, the more creamy it gets and harder to frost. But it did "harden" slightly after i leave them at room temperature for some time. What happened!!
Assembly: (learned from foodismylife)
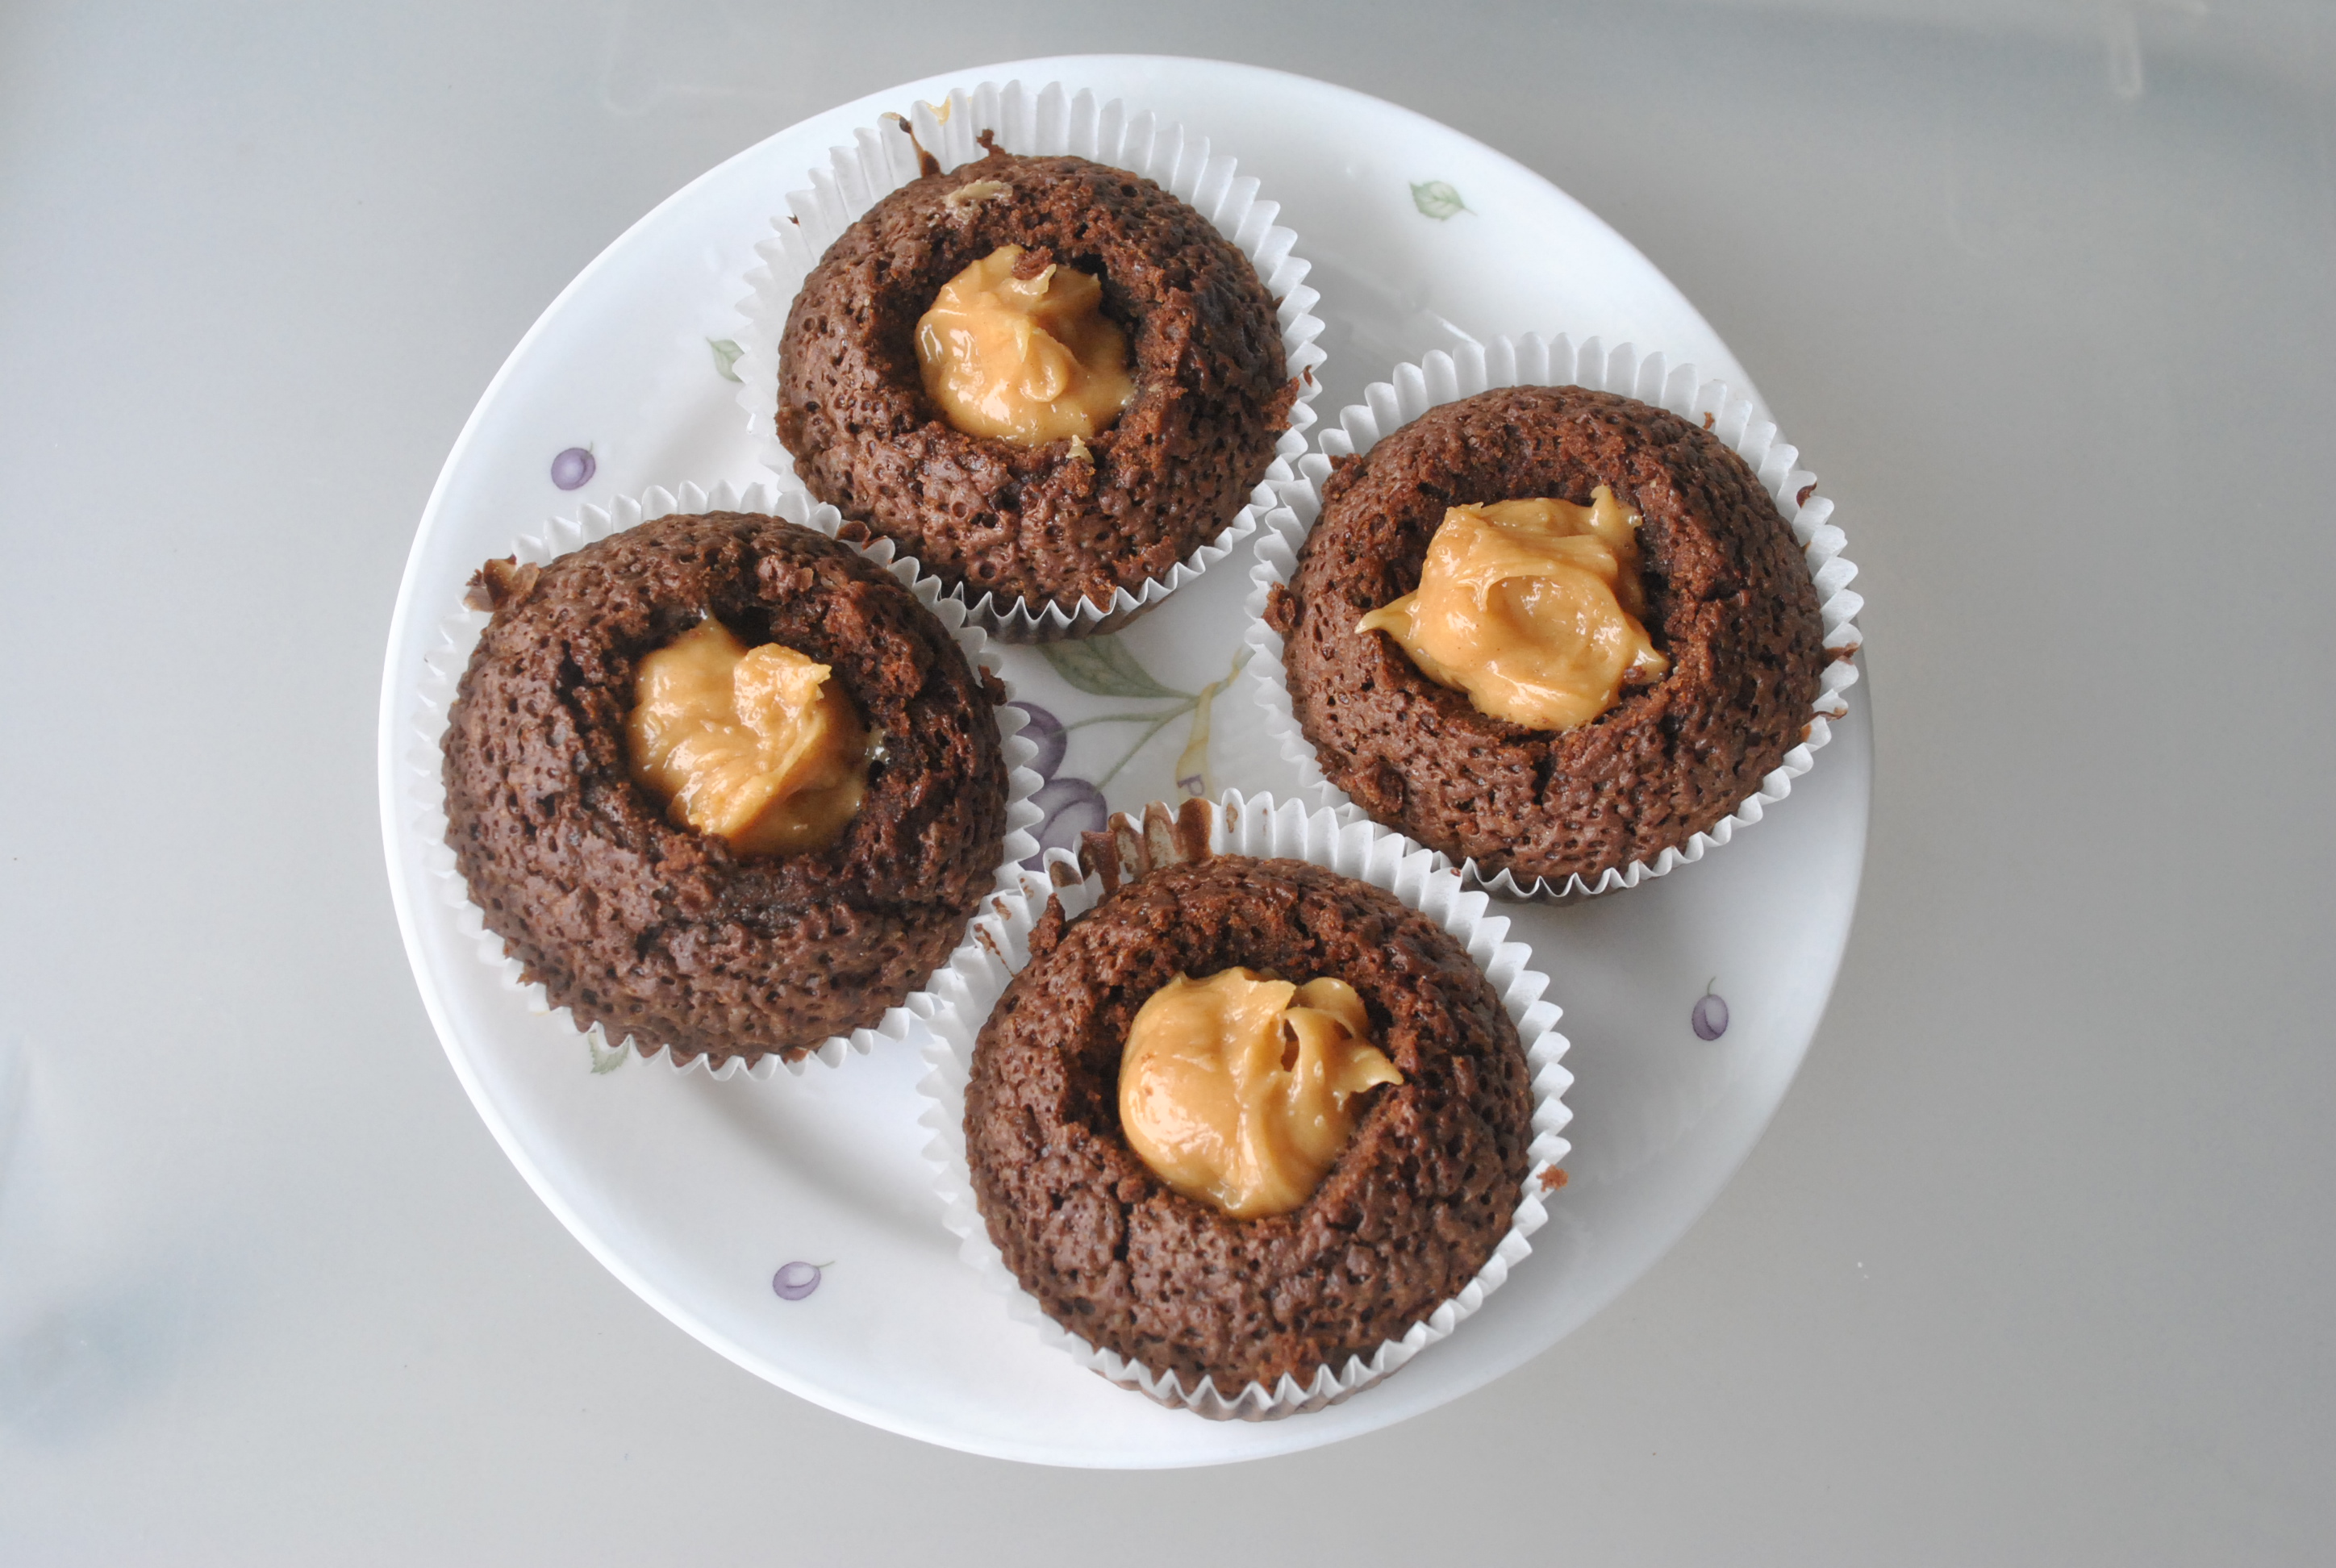
Using a small knife to cut out a cone in the cupcake. The trick is to insert the knife about 3/4 into the cupcake – not straight down, but at an angle towards the centre of the cupcake. Hold the knife in place and turn the cupcake, so that you will cut out a cone.
Cut off 3/4 off the cone, keeping the small round disks and snacking on the extra cones.
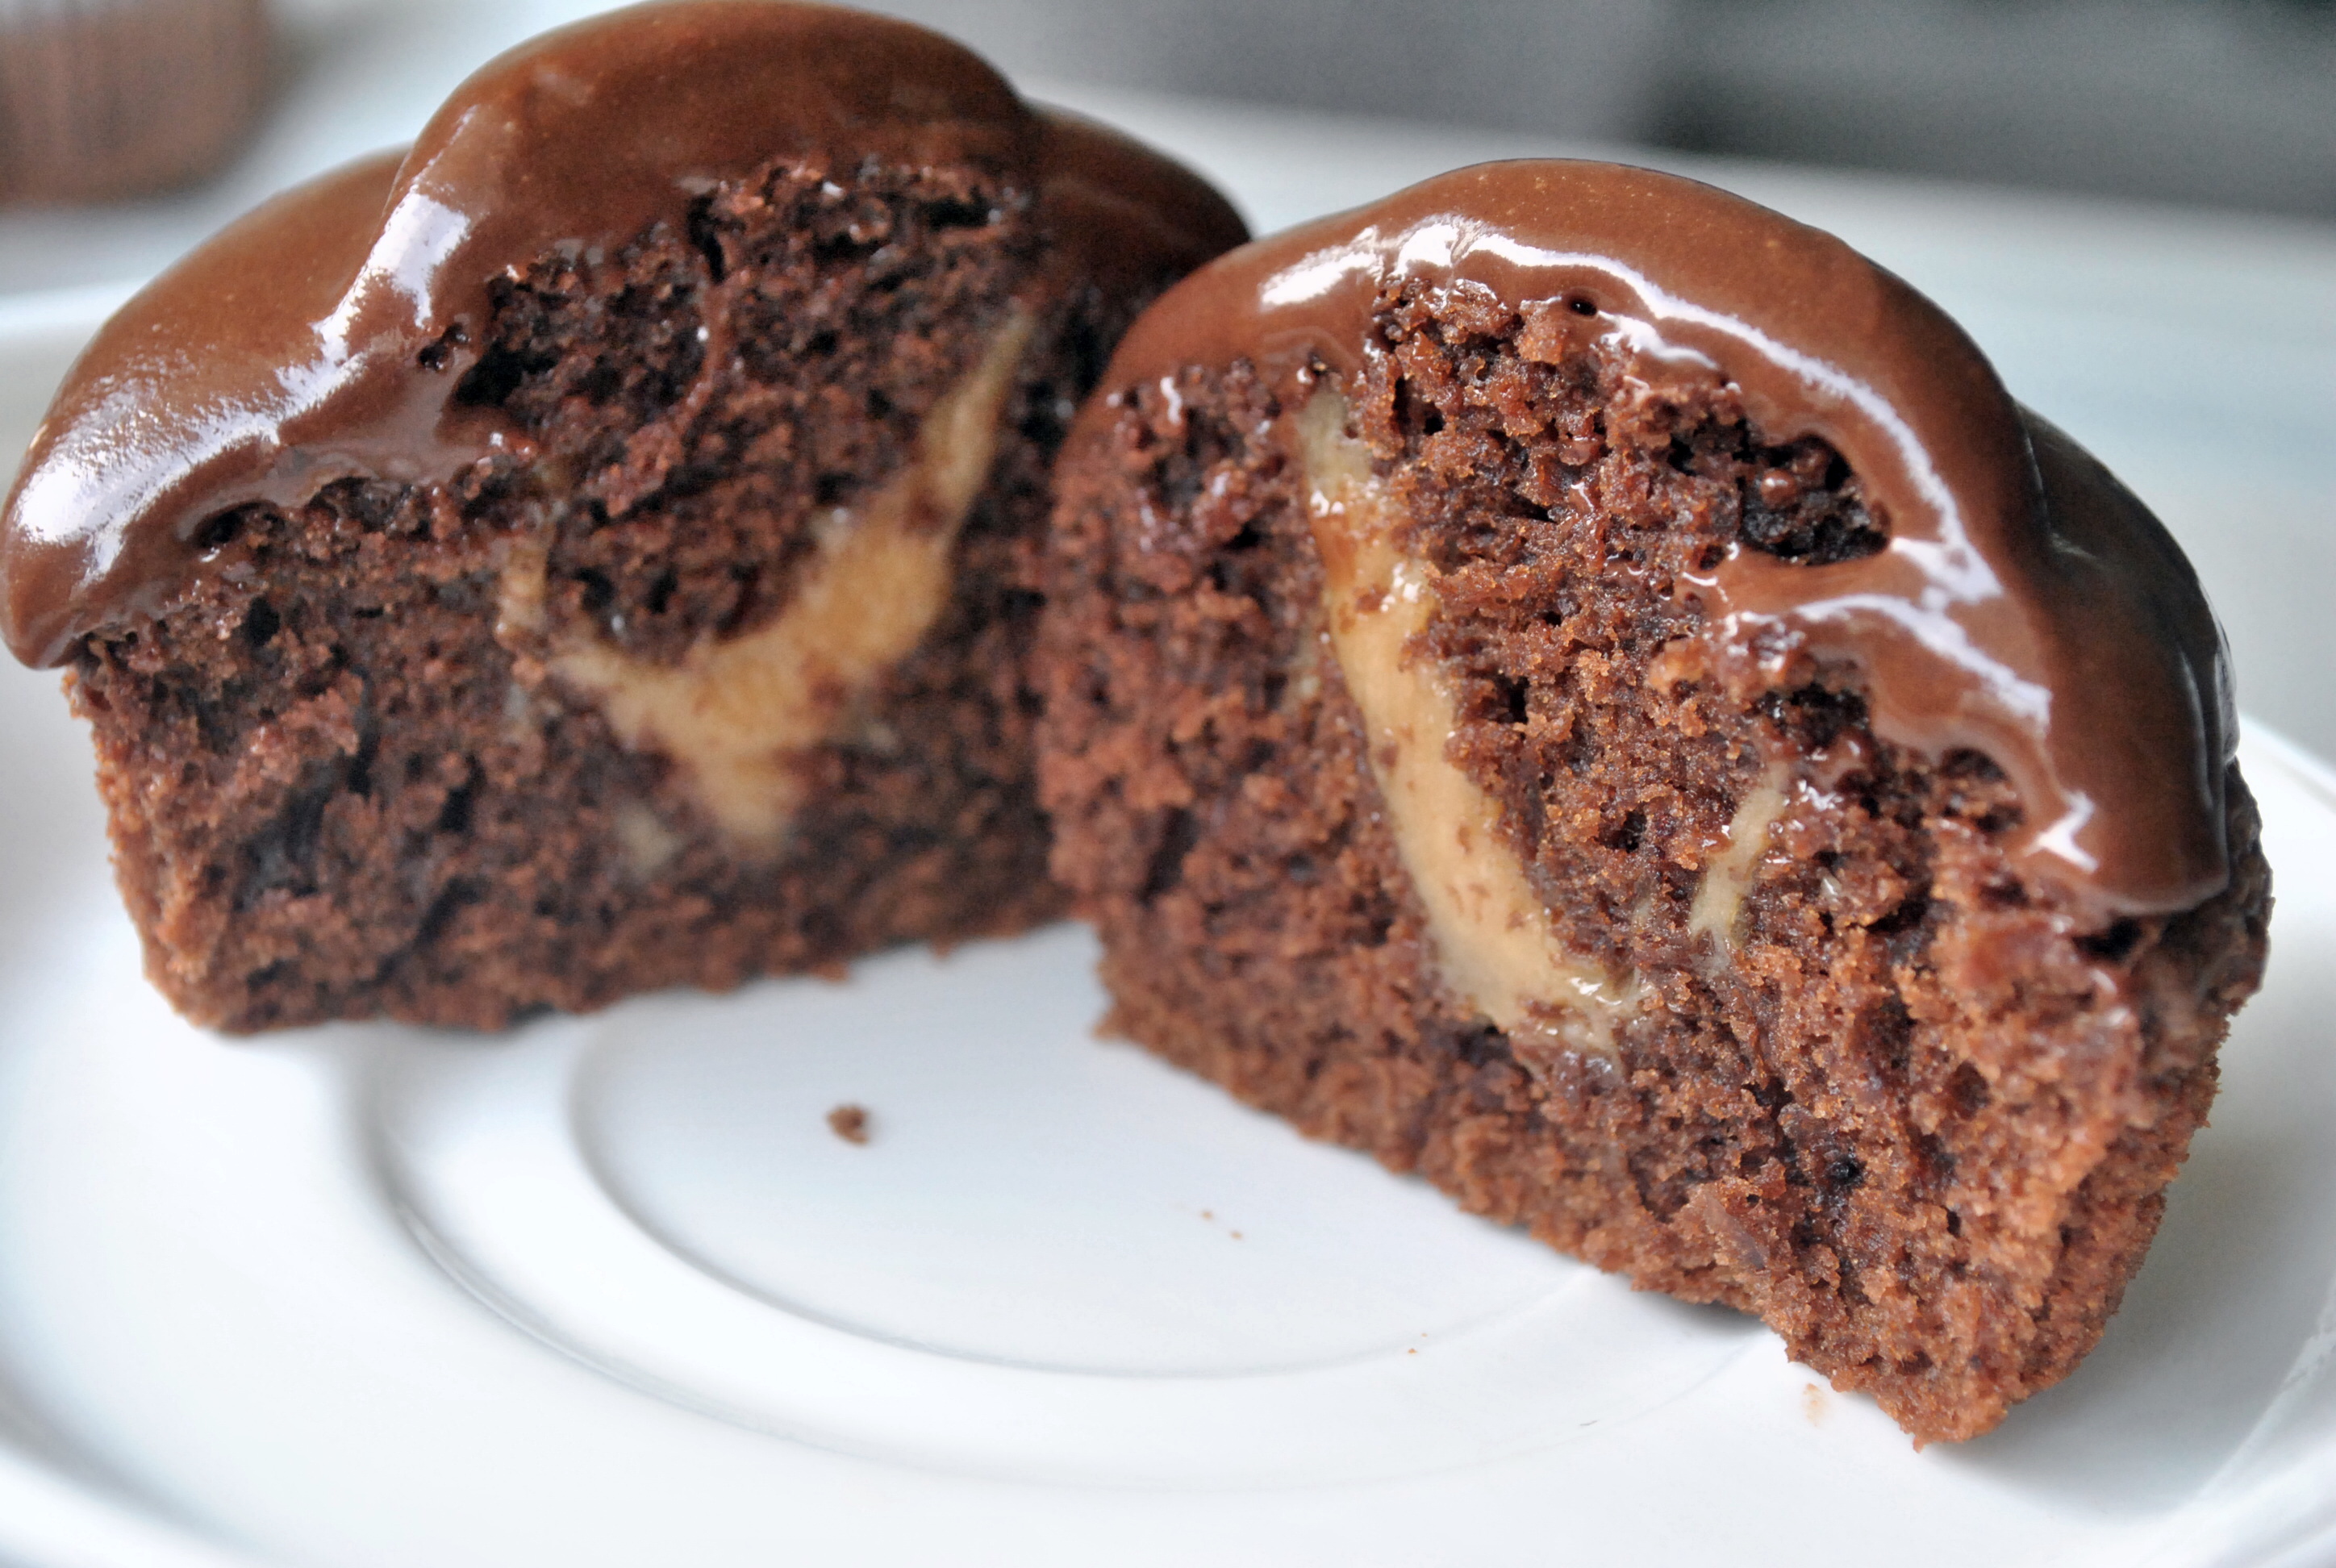
Scoop about a teaspoon (depending on your preferred amount of filling) the peanut butter filling into the middle of the cupcakes. Replace the chocolate cake disks and press it down gently.
[Note*: Next time I cut a bigger hole and discard a portion of the pointed part of the cone and just replace the chocolate cake with the base of the cone so my filling wouldnt be "squashed". ]
Spread a thick layer of chocolate ganache over the top of the cupcakes and decorate as you like.
Storage: These cupcakes can be kept for up to a week – in an air-tight container in the fridge. Let the cupcakes sit at room temperature for 15 minutes before serving. The cupcakes will still be slightly chilled but the ganache has softened. Mine were finished in a day!!
Peanut butter lovers like me basically love anything with peanut butter. However, my family and friends just found it strange to put peanut butter and chocolate together. I guess it's up to individual preference!! Good day.


0 comments